

Renovation dust appears to return because fine particles remain on high ledges, inside joinery, in textiles and along air routes after the first visible clean. Movement, ventilation and normal room use then release them onto freshly wiped surfaces. The answer is usually a controlled sequence of removal and settling, not faster dry dusting.
Dust does not all settle at once
Large fragments fall quickly. The smallest particles can remain suspended and travel between rooms before settling. Opening a door, walking across an unfinished floor or moving packaging creates new air movement. A clean worktop can therefore collect a pale film even when nobody has carried out more building work.
This is why timing matters. An after-builders clean is most effective after cutting, sanding and drilling have finished, waste has gone and trades no longer need to cross completed rooms.
High surfaces feed lower ones
Door tops, curtain tracks, cabinet crowns, pipework and the upper edges of tiles are easily missed at eye level. Dust left there drops during later cleaning or when doors and windows move. Starting with floors can produce an impressive short-term result, but it guarantees rework if upper levels have not been addressed.
Work from stable high points downwards, using equipment appropriate to the surface. Do not climb improvised stacks or stretch from unstable furniture. Inaccessible areas should be identified in the scope rather than treated as an invitation to take risks.
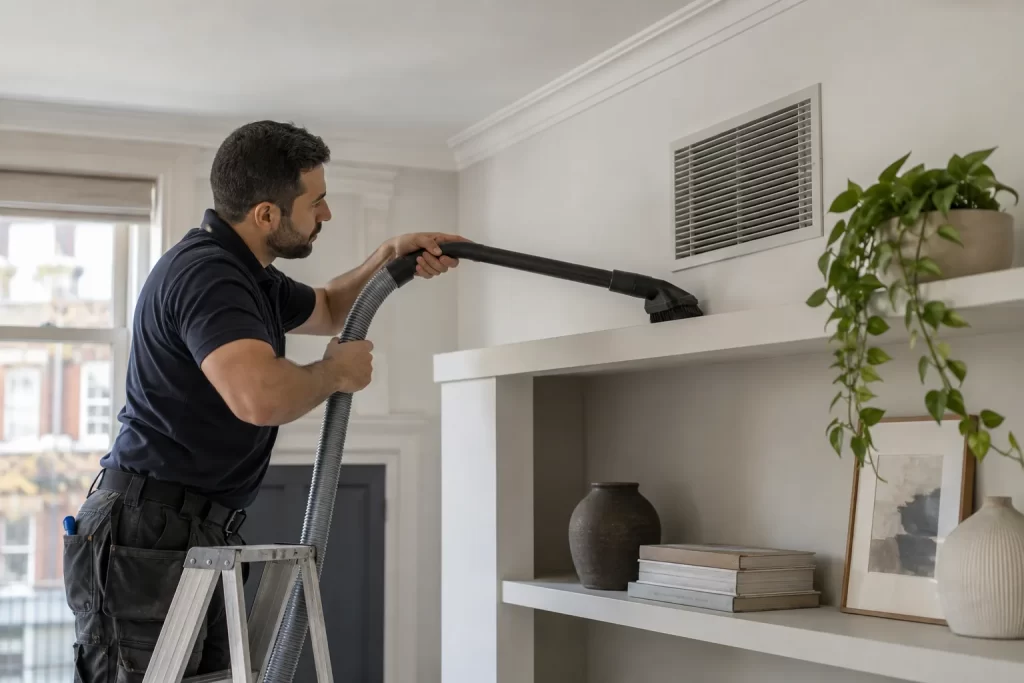
Dry wiping redistributes fine particles
A dry cloth or feather duster may lift visible dust into the air rather than capture it. A suitable vacuum with well-maintained filtration can remove loose material first; a lightly damp method may then collect the remaining film where the finish permits. Cloths need frequent folding and replacement so they do not spread a grey slurry.
The method must suit the new material. Unsealed timber, fresh paint, natural stone and electrical fittings do not share one moisture tolerance. Follow the installer’s curing and aftercare guidance.
Protective films and packaging hide reservoirs
Dust collects beneath curled floor protection, around masking tape and in the folds of sheeting. Removing protection too early can expose finishes to damage; leaving it until after the final clean can release a new load. Agree with the contractor who removes each material and when.
Offcuts, empty bags and cardboard should leave before detailed cleaning unless they are still required. Their corrugations and rough surfaces hold fine material and shed it whenever moved.
Ventilation can help or hinder
Fresh air supports drying and reduces suspended dust when the route is controlled. Strong cross-draughts can also carry particles from an unfinished room into a finished one. Mechanical systems may contain dusty filters or grilles, but those components should be handled according to their maintenance instructions rather than dismantled casually.
Close and mark rooms that are complete if work continues elsewhere. Use one agreed route for trades and materials. This simple zoning reduces the amount that has to be cleaned again.
Soft furnishings behave differently from hard surfaces
Curtains, rugs, mattresses and upholstered furniture can trap airborne dust, then release it when used. Ideally they are removed or fully protected before dusty work. If they stayed in place, include them in the assessment rather than assuming that wiping the surrounding floor is enough.
Do not beat or shake textiles inside a cleaned room. Check care information and decide whether vacuuming, laundering or specialist fabric treatment is appropriate.
Fresh finishes impose limits
New paint, sealant, grout, adhesive and floor coatings need time to cure. A surface may feel dry but still be vulnerable to pressure, water or cleaning chemistry. Ask the relevant trade for product names and written aftercare. Guessing can turn removable dust into staining or surface damage.
Record snagging before cleaning: paint splashes, scratches, chips, unfilled joints and failed seals are not dust. Separating them protects both the cleaner and the contractor from an argument about cause.
Plan the first pass as removal
- Confirm that dusty work has stopped and waste is out.
- Photograph existing defects and identify fragile new finishes.
- Remove loose material from high to low with controlled capture.
- Address edges, ledges, joinery and accessible vents.
- Clean horizontal surfaces using finish-safe methods.
- Finish floors and leave the room with minimal traffic.
This pass tackles the main load. It should not be judged only by how a dark shelf looks immediately afterwards.
Allow a settling interval
After the main clean, allow fine airborne material to settle in a closed, unused room where practical. The interval depends on ventilation, the amount of dust and whether other work continues; there is no honest universal number. Inspect in angled daylight rather than relying solely on overhead lighting.
A second, lighter pass can then target the new film without repeating every heavy task. If substantial dust returns, look for an active source: ongoing cutting, an unsealed route, dirty protection or a disturbed void.
Make a room-by-room completion map
Label rooms as unfinished, ready for main cleaning, settling, or checked. This prevents someone from carrying a dusty ladder through a completed bedroom. It also makes responsibility clear when several trades overlap.
For deciding whether the project has reached the first clean at all, use the separate after-builders readiness test. A room that still needs sanding is not at the “dust returned” stage; it is simply not finished.
When another pass is justified
Repeat attention when there is a light settled film but no new source, or after a protected item is finally removed. Pause and investigate when piles form around one opening, dust has an unusual colour or smell, damp marks appear, or building activity continues nearby.
The goal is not to chase every airborne particle indefinitely. It is to remove the construction load, control the routes by which it travels, respect new finishes and perform a measured final check. Once sources and sequence are under control, the cycle of wiping and immediate reappearance usually comes to an end.
Check adjoining spaces
Dust can migrate from a hallway, cupboard, loft hatch or neighbouring work zone that was not included in the main clean. Inspect door rebates and the floor line at boundaries. A recurring strip beside one doorway is evidence of a route, not proof that the whole room was missed.
Coordinate with building management in shared blocks, where corridor works and lift use may reintroduce material after a flat has been completed.
Store cleaned tools and unused materials outside completed rooms. A dusty vacuum body, folded dust sheet or open toolbox can re-seed the same ledges that have just been checked. Clean the route out as deliberately as the room itself.
Then document the final check clearly.