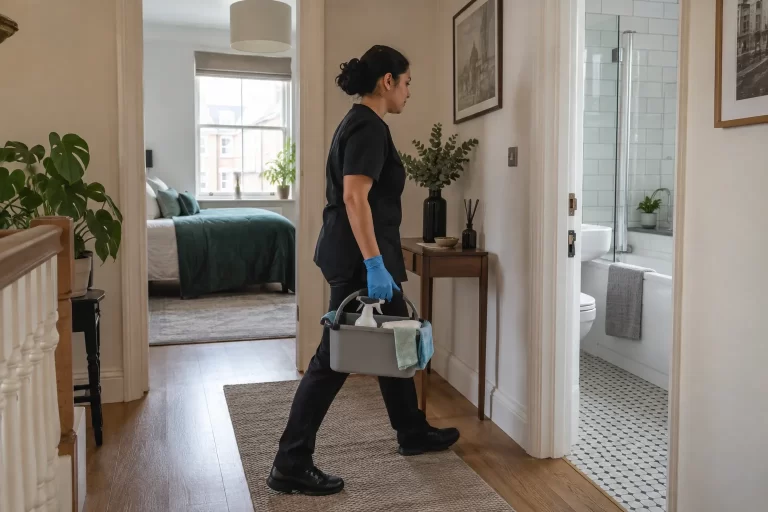
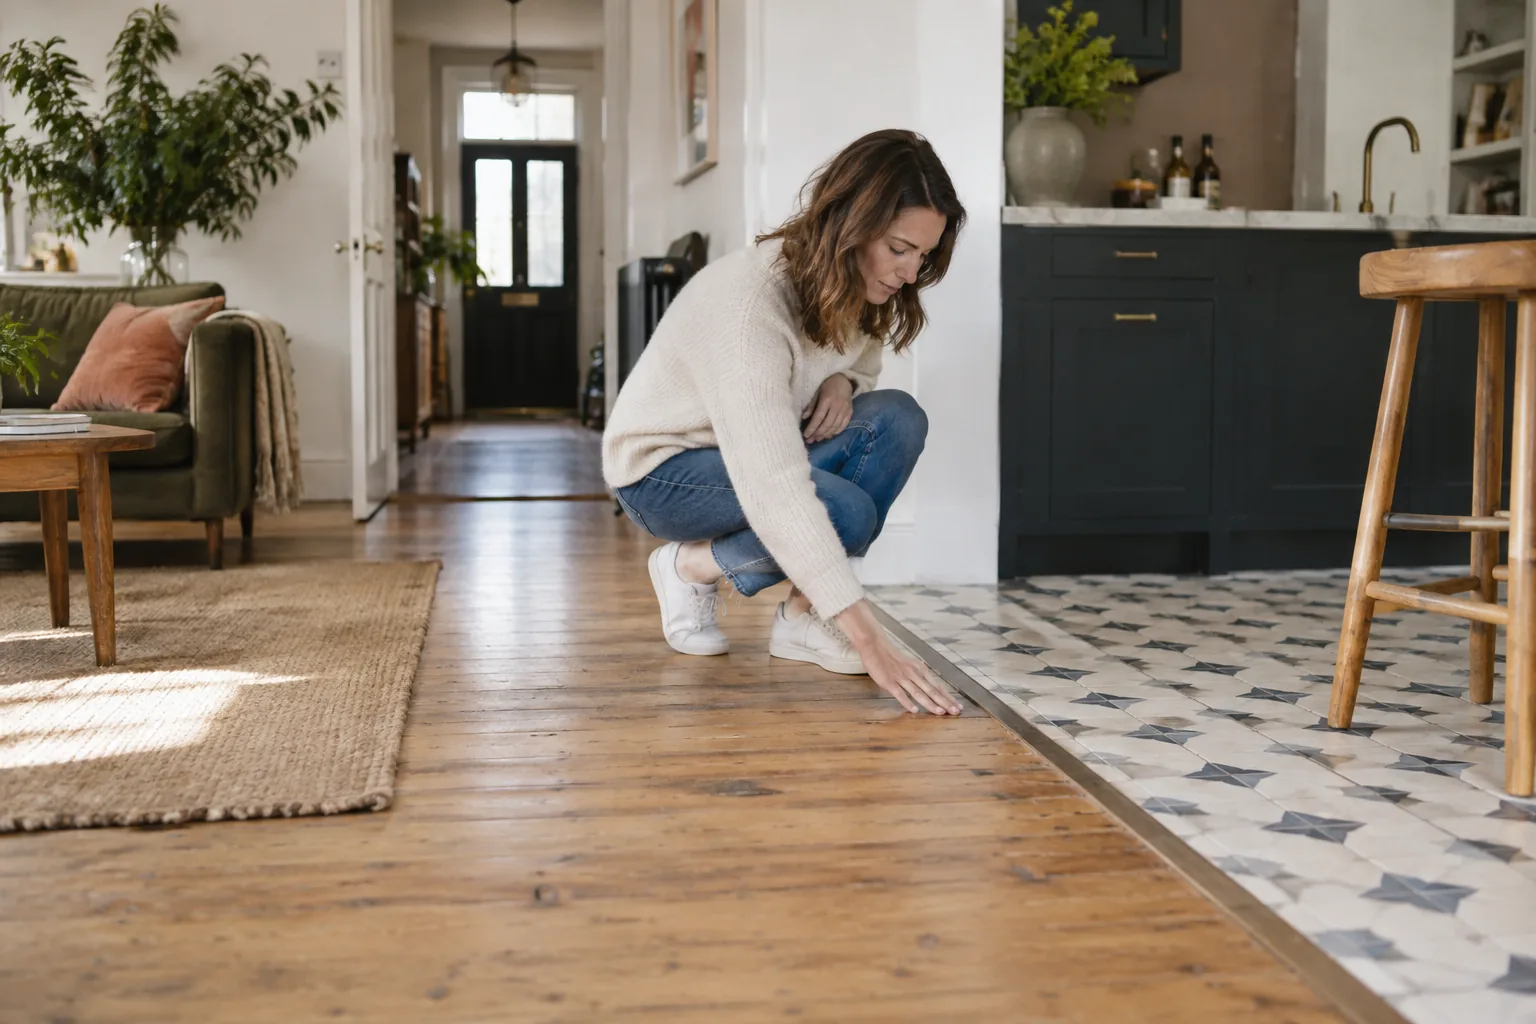
Identify a hard floor before choosing moisture, product or equipment. Wood, laminate, luxury vinyl, sheet vinyl, ceramic tile and natural stone can imitate one another convincingly. The safest clues come from joints, edges, repeated pattern, sound, temperature and property records—not from colour alone.
If the material or finish remains uncertain, use minimal intervention and seek reliable information. A stronger product does not compensate for a wrong identification.
Begin at an edge or threshold
Doorways, floor vents and the edge beneath a removable trim may reveal thickness and construction without damaging the floor. Solid or engineered timber usually shows a wood layer and natural variation. Laminate commonly has a printed decorative layer over a manufactured core. Vinyl is resilient and may appear as planks, tiles or sheet.
Do not lift fixed trim or prise up boards. Look only where construction is already visible. Ask the owner, landlord or installer for invoices and care guidance.
Look for repetition and variation
Natural wood and stone vary in ways that do not repeat exactly. Laminate, printed vinyl and porcelain effects may repeat knots, grain or veining across separate pieces. Repetition is a clue, not proof: high-quality manufactured floors use many patterns, while natural material can be selected for consistency.
Inspect under neutral light and across a larger area. Gloss, dirt and previous coatings can disguise the original appearance.
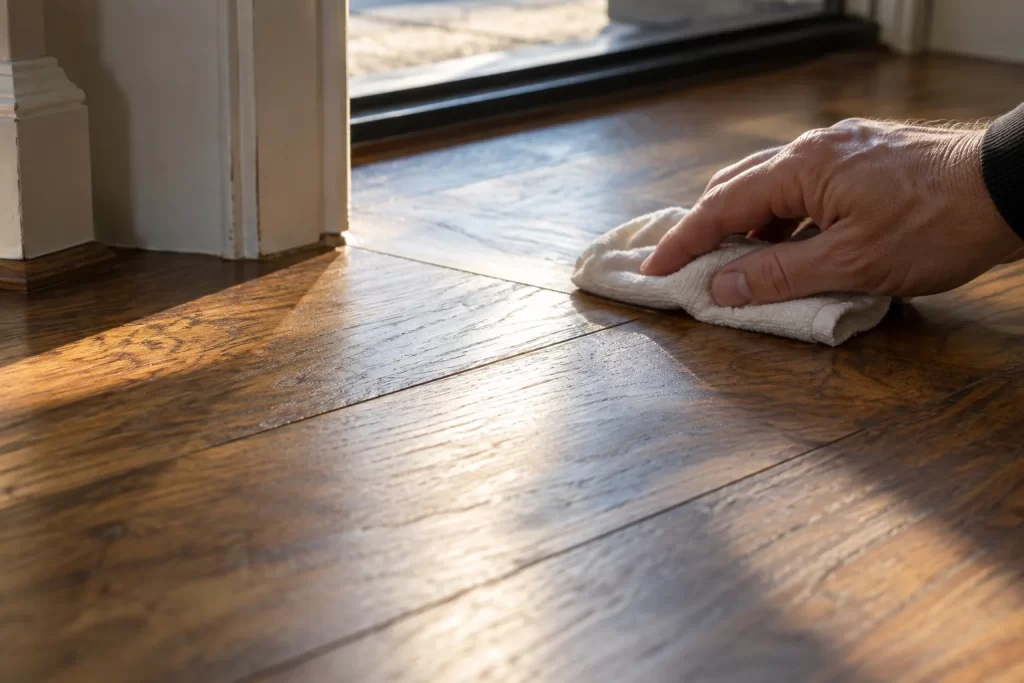
Read the joints
Timber boards may show tongue-and-groove construction, bevelled edges or movement gaps. Laminate often has precise click joints and a consistent printed face. Vinyl planks can have tight seams and a slightly resilient feel. Sheet vinyl has few joins. Tile and stone normally sit within grout lines, though grout colour can make them less obvious.
Open joints, swelling or loose tiles are condition issues. Cleaning cannot close them, and added moisture may worsen vulnerable edges.
Distinguish tile from stone
Ceramic and porcelain tiles often have a manufactured surface and repeated sizing. Natural stone may show pores, fossils, veins or filled cavities. Some porcelain copies stone extremely well, so check spare tiles, documents or an unobtrusive edge.
Stone type and finish matter. Polished, honed, textured and sealed surfaces respond differently. Acidic products can harm acid-sensitive stone; generic “tile cleaner” is not enough information.
Find out what finish is present
Wood may be lacquered, oiled, waxed or previously coated. Stone may be sealed. Vinyl can carry a factory wear layer or an applied finish. The underlying material does not tell you everything about the surface currently being cleaned.
Uneven sheen, peeling, white patches and sticky areas may indicate coating wear or incompatible residue. More product can make the appearance less even. Record previous treatments where possible.
Use moisture as a limit, not a default
Laminate cores and wood joints can swell when water enters. Timber can cup or change finish. Stone and grout can absorb moisture, while some resilient floors tolerate more controlled damp cleaning. None benefits from standing water.
Vacuum or remove dry soil first with suitable equipment. Use a well-controlled damp method only when the surface guidance supports it. Attend to spills promptly and do not leave wet edges against skirting or thresholds.
Do not rely on a dramatic home test
Scratching, scraping, soaking or applying acid to identify a floor can create the damage you hoped to avoid. Even a hidden area belongs to the property. Use documents, visual clues and professional assessment before destructive tests.
A small product test, when permitted, checks compatibility with a known surface; it should not be used to guess what the entire floor is made from.
Separate cleaning from restoration
Routine or professional hard-floor cleaning removes suitable soil. Sanding timber, polishing stone, replacing sealant, repairing grout, stripping coatings and fixing damaged planks are restoration or repair. Scratches, wear paths and sun fading may remain after the floor is clean.
Ask what outcome is expected. A request to “make it shiny again” may concern the finish rather than dirt, and the wrong polish can leave a slippery or uneven film.
Prepare information for a cleaning appointment
- Photograph the whole floor and a close view of joints.
- Find manufacturer or installer records if available.
- List products, polishes or sealers used previously.
- Mark loose boards, cracks, chips and swollen edges.
- Describe access, furniture and total area.
- Identify transitions to other materials.
Move only light items that can be handled safely. Heavy furniture should be agreed in advance. Protect the route through adjacent carpet or timber.
When the floor changes between rooms
Open-plan homes often contain several materials that look coordinated. A timber living area may meet porcelain in the kitchen and vinyl in a utility space. Treat the threshold as a change in method, not merely a line to cross with the same mop.
Map each zone and keep tools or solutions appropriate to it. If one material is uncertain, exclude that zone until it is identified rather than risking the entire continuous floor.
A cautious conclusion is useful
You do not need a dramatic test to make progress. Edges, joints, pattern, records and finish condition usually narrow the possibilities. When they do not, uncertainty is itself an important finding.
Choose the mildest suitable method for the confirmed surface, control moisture and stop when the finish changes. Accurate identification protects the floor and prevents a cleaning appointment from becoming a repair problem.
Use several clues, never one visual guess
Repeat patterns can suggest printed vinyl or laminate, but modern products imitate natural variation convincingly. Look at an exposed edge, a doorway transition, the sound under gentle footfall and any spare material or invoice. Heating, age and previous coatings can alter appearance.
Ask the owner or installer, but keep uncertainty in the brief if no evidence exists. A conservative test in an inconspicuous place is safer than treating a guess as fact.
Map different finishes within one room
An extension may meet an older floor without an obvious threshold. A stone hearth, timber border or repaired patch can sit inside a larger field. Mark these transitions before machinery or solution crosses them.
Also identify loose boards, hollow tiles, open laminate joints and failing grout. Cleaning cannot repair them, and moisture or movement may make the condition worse.
Write down the uncertainty
If material cannot be confirmed, label it “unverified” in the scope and choose the least aggressive appropriate care. Photograph transitions and any test location. This creates a repeatable record for the next visit and prevents a confident but unsupported guess becoming household folklore.
Ask for manufacturer or installer information before specialist restoration. Cleaning can remove suitable surface soil; sanding, sealing, polishing and repairing joints are different decisions with different risks.