
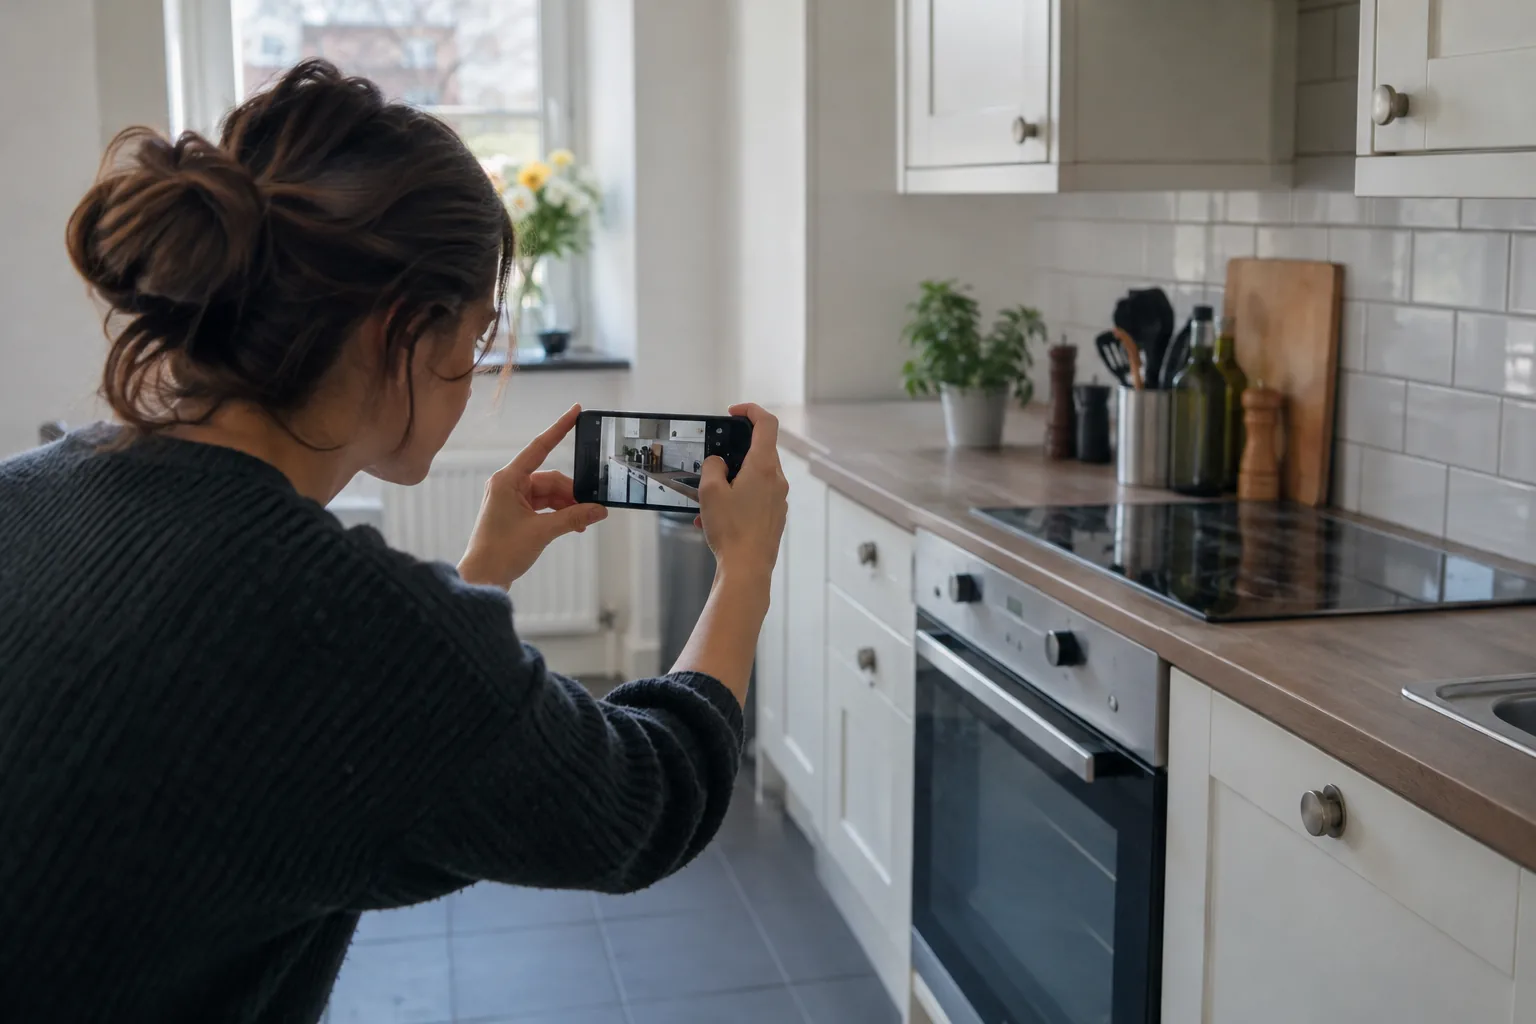
Photographs at the end of a tenancy are useful when another person can tell where each image was taken and what it shows. A close-up of a mark with no room context may cause more confusion than clarity. A consistent route, even light and factual notes can document cleaning condition without claiming to decide responsibility or a deposit outcome. The photographs should sit alongside the inventory and the agreed cleaning scope.
Decide what photographs can fairly document
A photograph can show visible crumbs in a drawer, residue on an oven door or a scratch beside a sink at a particular point in time. It cannot, by itself, establish when a mark arose or who caused it. Keep descriptions close to what is visible. “Food residue on lower refrigerator shelf” is more useful than a judgement about whether the tenant looked after the appliance. A cleanable deposit, worn finish and broken fitting are different conditions and should not share one vague label.
Take images after the work is finished and the surfaces are dry. Water or cleaner film can make a worktop appear evenly shiny while hiding a streak. Do not use filters that alter colour or contrast. If the room is dark, arrange working light or return when the condition can be seen; a harsh flash can create glare on glass and metal. Check a sample image at full size before taking the entire set so a dirty camera lens or blur does not spoil the record.
Keep other people’s documents and personal possessions out of frame where possible. The aim is to show property condition, not private information. Agree who is allowed to receive the photographs and how they will be shared.
Use the same route through each room
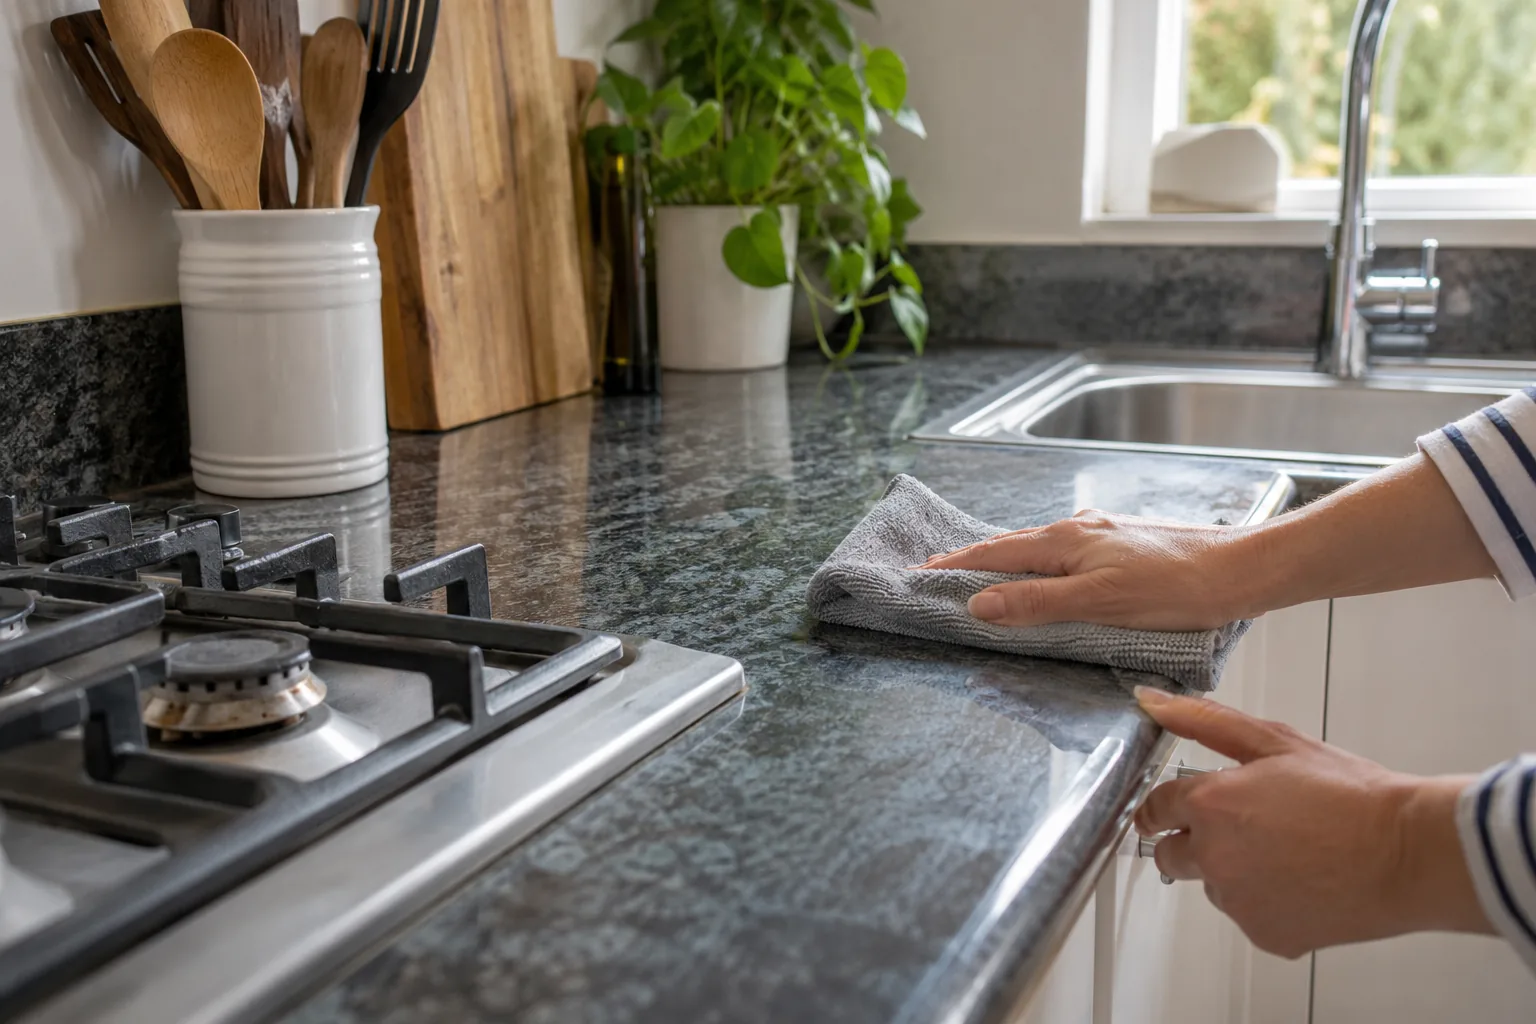
Start with a broad photograph from the doorway. Then move in a consistent direction around the walls, fittings and floor. In a kitchen, include the agreed cupboards and appliances; in a bathroom, the basin, bath or shower and accessible floor edges. The order should match the inventory so a later viewer can find the relevant item quickly. Take a wider view before every close-up. A mark beside the left tap is easier to understand when a second image shows the whole sink.
Do not photograph inside a cupboard or appliance that was not part of the agreed scope without a reason. Where an interior is included, open it safely, photograph it in even light and close it when finished. Retake a blurred view while still in the room. A numbered camera roll with hundreds of similar close-ups is difficult to use; organise files by room and item instead.
If two people are taking photographs, divide the rooms or use one shared checklist. Otherwise the same oven may be recorded twice while the hall floor is missed. Check the list before keys change hands. A short written note should identify any room that could not be inspected because lighting, access or a utility was unavailable.
Separate residue from wear and damage
A cleaner can remove suitable surface soil. They cannot repair chipped enamel, a loose seal or a scratch within a worktop. Photograph such defects distinctly, with a wider frame showing their location. If a mark remains after an appropriate clean, describe what was tried and what remains without continuing abrasive treatment just to make a photograph look better. A damaged finish may deteriorate under repeated scrubbing.
Be careful with words such as “mould”, “stain” or “damage” when appearance alone is uncertain. “Dark mark at lower grout line” identifies the visible condition; a claim about the cause may need further assessment. Likewise, a worn carpet path is not necessarily removable dirt. Compare with the check-in inventory where available and let the relevant tenancy process decide any dispute. The photo record should clarify facts, not make a legal conclusion.
Show areas left inaccessible. A fixed wardrobe or heavy sofa may prevent cleaning behind it. Photograph the room layout and note that limit instead of implying the hidden floor was inspected. This is especially important in a furnished property where the final room photograph can look complete despite large concealed areas.
Use before-and-after views carefully
If photographs are taken both before and after cleaning, frame the same item from a comparable position and in similar light. A close view before and a distant view afterwards does not show clearly what changed. Keep the unedited originals of both. Note if an appliance was moved, a cupboard emptied or a light switched on between images, because those changes can affect what the viewer sees.
Do not promise that every mark will disappear. A photograph of the starting condition may reveal food residue and a chip in the same oven. The residue may be removable while the chip remains. The after image should show the dry result, and the notes should separate the remaining defect. This is a more accurate record than retouching the image or photographing only a clean corner of the appliance.
A measuring object can help with the size of a scratch or damaged patch, but place it without covering the mark or making contact that could cause more damage. For ordinary cleaning residue, a wider contextual view is usually more useful than a ruler. Avoid making the photo set look like an argument. It should help a reader locate and understand a condition, with the inventory and written observations supplying the rest.
Keep the evidence organised
Preserve original image files with their creation information. You may send smaller copies for convenience, but keep the originals and the inventory together. Use filenames or folders that identify the room and item, such as “kitchen-oven-interior” and “kitchen-oven-wide”. Do not rely on a social-media copy that may compress images or remove information. Record the date, property and person who took the photographs in a simple note.
Store the files in a place accessible to the relevant parties but not open to unrelated people. If images include personal items, share only what is needed. Agree who will receive them: tenant, landlord, managing agent or cleaning company, depending on the arrangement. Avoid sending a large unstructured batch that the recipient cannot match to the inventory.
A consistent record is easier to review than a dramatic collection of close-ups. If the subject is a small scratch, show its location. If the subject is cleanliness, show the surface after drying. A few well-framed images can be more informative than dozens taken in poor light.
Match the record to the cleaning handover
Before an end-of-tenancy clean, agree which rooms, cupboards and appliances are included. When the same property is being prepared for the next occupant, the scope of a move-in or move-out clean should likewise be recorded before photographs are taken. The final images can then follow the agreed scope. If a task was postponed because water or power was unavailable, note it rather than presenting the property as fully finished. Keep repair observations separate from the cleaner’s record of work completed.
The guide to cleaning versus repair can help distinguish those categories. The photographs themselves should remain neutral. Any question about a deposit depends on the tenancy documents, inventories and applicable process, not on a caption written by the cleaner.
Finish by checking that each agreed room and appliance has a wide view, any necessary detail and a clear location note. If the camera cannot show a surface accurately, record that limitation and arrange a better view if possible. Keep a copy of the inventory beside the images for reference. A fair, orderly photo set helps the next person understand the condition without asking them to guess what happened outside the frame.