
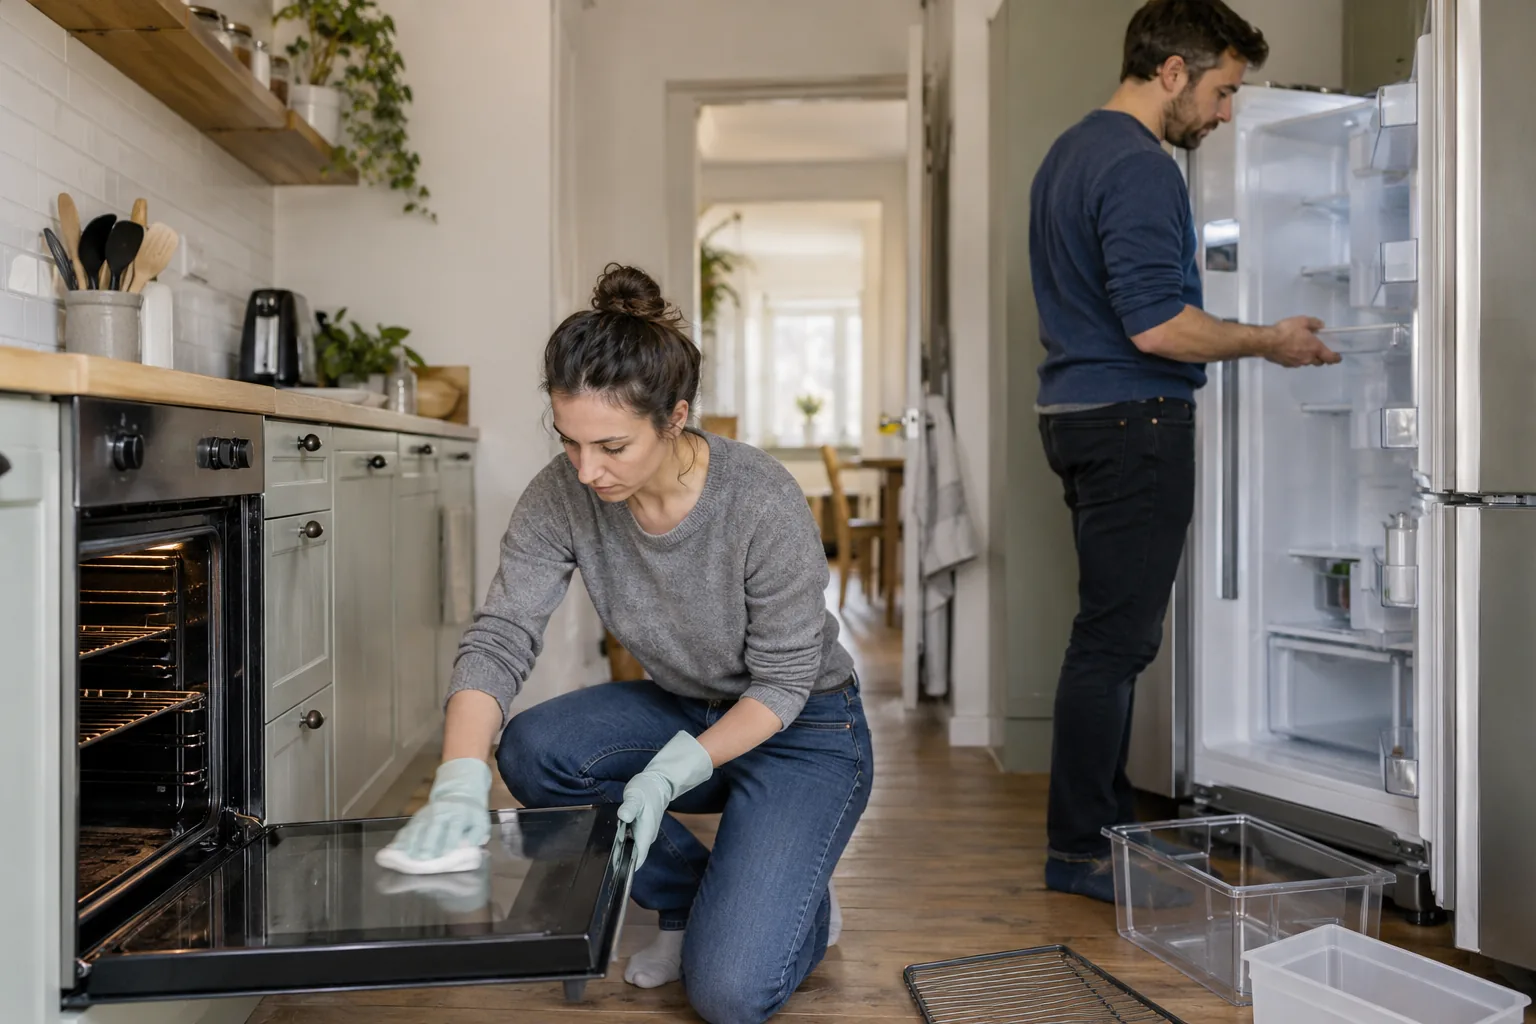
Move-out appliance cleaning can be difficult to fit into the last morning of a tenancy. An oven must cool, a freezer may need to defrost and removable parts need to dry before they are refitted. Start with the property inventory and a realistic timetable. Cleaning residue and recording a broken component are different tasks; both matter to a clear handover.
List the appliances included
Check the inventory for the supplied oven, hob, extractor, refrigerator, freezer, microwave and any laundry appliance. Name exactly which interiors and removable parts are included in the appointment. A quick exterior wipe is not a full oven clean. A refrigerator shelf may be easy to remove, while an oven door panel may require tools and should remain in place during ordinary cleaning. Ask for manufacturer instructions if the arrangement is unfamiliar.
Photograph the starting condition of each appliance, including any missing rack, cracked drawer or loose seal. Keep wide and detail views together so a later reader knows which unit is shown. Do not dismantle a rented appliance simply because a part looks removable. The owner or manager should authorise any work beyond routine accessible cleaning.
Decide where the appliances fit in the overall property clean. A heavily soiled cooker may need a separate oven-cleaning appointment. If the handover time is fixed, book the work early enough for cooling, drying and final photographs rather than treating those stages as optional.
Plan for power, cooling and food
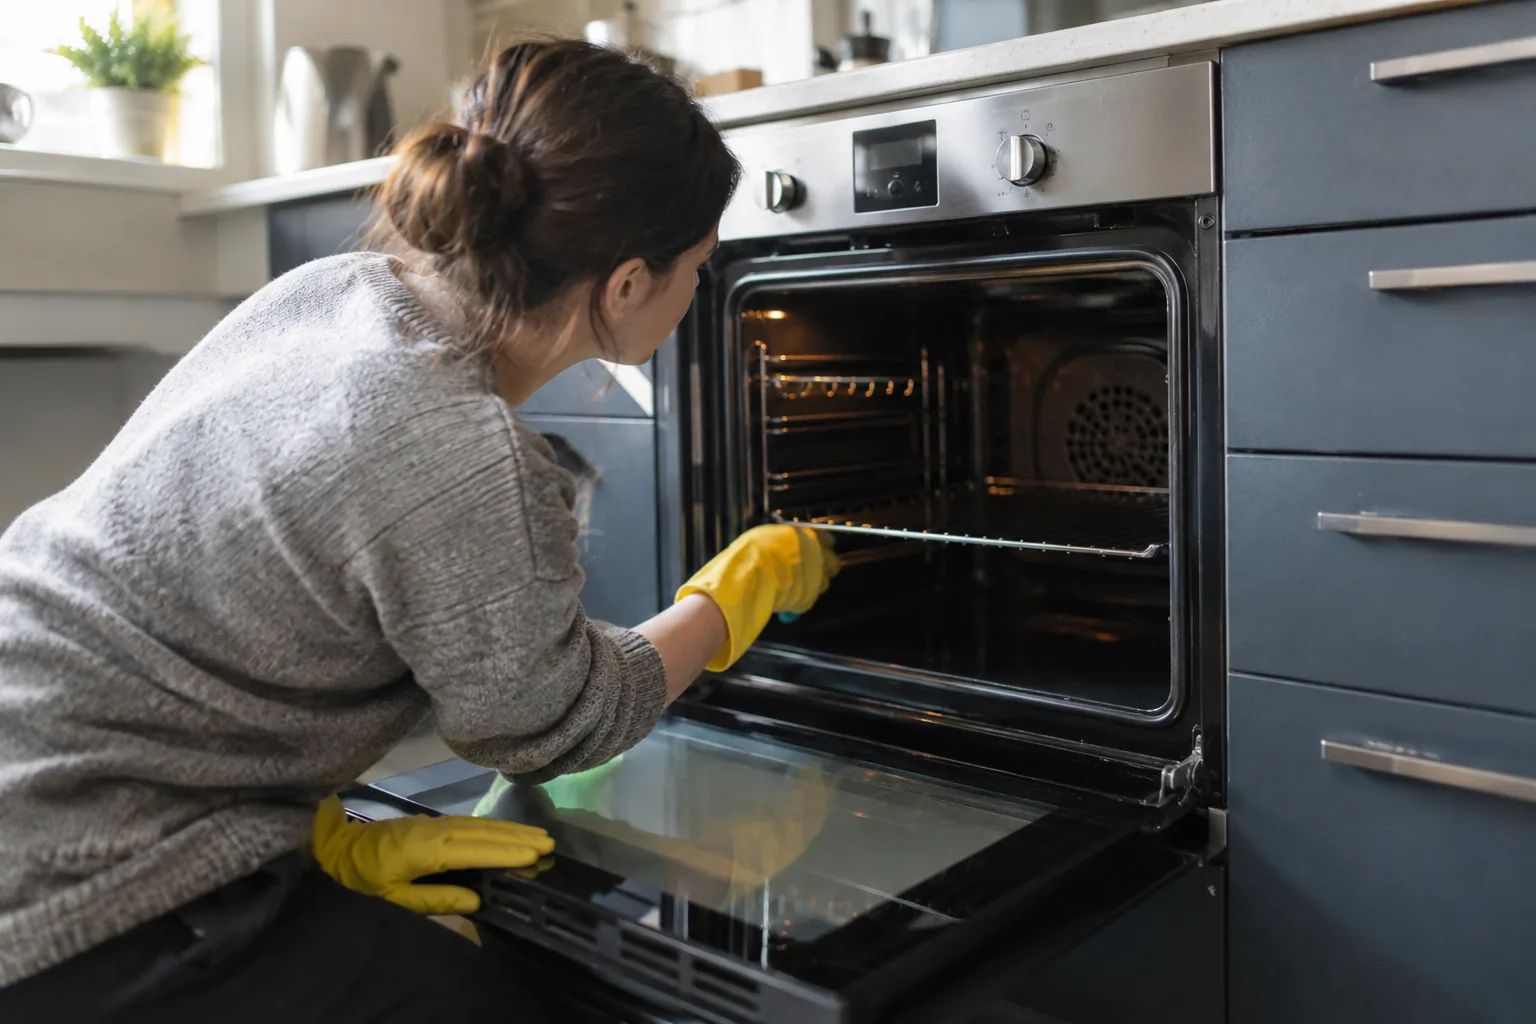
Allow the oven to cool before interior work begins. Check its care instructions for trays, racks and finishes; a product suited to one enamel may be unsuitable for another coating. Keep cleaner away from electrical openings and controls. If the hob has removable parts, lay them out on a protected surface and keep their positions clear for reassembly.
A freezer needs a food plan and a route for meltwater before it is switched off. Do not force ice away with a sharp tool. If chilled food must be kept, arrange appropriate storage rather than leaving it on a warm worktop while the rest of the kitchen is cleaned. Confirm that electricity and water will remain available for the entire job. A vacant property’s utilities can be disconnected earlier than expected.
A refrigerator may be safe to clean in sections so food is not left out unnecessarily. Remove shelves and drawers only as the maker permits, wash by suitable methods and dry them completely. Check door pockets and runners that are accessible. A drawer that is difficult to release may have a clip; do not force it. A broken runner is a repair issue to record.
Separate removable residue from defects
Food crumbs, grease and suitable surface scale are cleaning conditions. Chipped enamel, cracked glass, a damaged door seal and a faulty element are defects. Photograph them separately and avoid aggressive treatment that could worsen or obscure the original condition. A mark left after a compatible clean may be a stain within a finish; describe it honestly rather than scraping until the surface changes.
Look at the surrounding area too. Grease can collect at hob controls and along the cabinet edge; crumbs can sit beneath an appliance that can be accessed safely. Do not pull a heavy unit across a floor without agreement and suitable handling. A cleaner can address reachable edges while recording the inaccessible area. If an extractor has weak airflow or unusual noise, surface cleaning will not establish that its motor or duct is working.
Use products according to their labels, including ventilation, contact time and rinsing where food may touch a surface. Keep separate cloths for greasy oven work and refrigerator shelves. A cloth loaded with oven residue should not return to the fridge. Clean components and equipment before moving between those zones.
Check the details each appliance can hide
For an oven, inspect rack edges, the door perimeter and the accessible gap where crumbs settle, without taking apart a door that needs tools. A cool oven permits careful treatment of suitable baked-on residue. If the inner glass is cloudy after an appropriate clean, note whether the mark appears to be between panes or within a coating. Do not force a scraper against chipped enamel or a damaged glass edge.
For a refrigerator, look at the underside of shelves, drawer corners, door pockets and the drain area only if it is accessible under the maker’s guidance. Dry each component before replacing food. A stale odour may come from a spill hidden under a drawer, but it can also point to a maintenance issue. Record what was cleaned and whether the smell remains. Do not use a strong fragrance to disguise it for a handover.
For a microwave, clean its removable turntable and accessible cavity according to its instructions, keeping liquid away from vents and controls. For a supplied washing machine, the exterior, detergent drawer and door seal may be listed in the scope, but use its care guide before removing a drawer or running any cycle. A blocked drain, leak or unusual noise belongs on the defect list, not in a claim that a wipe has restored the appliance.
For an extractor, identify whether the filter is washable or replaceable. Do not immerse an unknown component or spray into the motor housing. A greasy exterior can be cleaned with a compatible product, while weak airflow needs inspection by a competent person. These appliance-specific checks help avoid a generic “all appliances cleaned” statement that conceals different levels of access and different remaining defects.
Reassemble and inspect when dry
Return shelves, racks and drawers to their correct positions only after drying. Check that doors close and seals sit as they did before work. Do not claim to have repaired an appliance by cleaning it. If a part cannot be refitted without force, leave it safely aside and report the issue. Tell the person receiving the keys if a door or drawer must remain open for drying.
Inspect each interior in even light. A wet oven door can hide cleaner film; a refrigerator shelf can look clear until a ring appears after drying. Check handles, door pockets, rails and lower corners as well as broad panels. Take final photographs of both the whole appliance and any detail that matters. Keep the completed clean and the defect list in separate notes.
The guide to preparing for an oven-cleaning appointment can help with the cooker-specific steps. For a broader property booking, end-of-tenancy cleaning should name the appliances rather than assuming every interior is included.
Leave a handover window
Work backwards from key collection. The final hour should not be the first time a freezer is opened for defrosting. Allow for product removal, drying, reassembly and photographs. If those steps cannot fit, arrange an earlier visit or split the appliances into separate appointments. A hurried wet finish is harder for the next person to use and inspect.
At the end, open each cleaned door once more to confirm that no cloth, product bottle or loose fixing has been left inside. Note any part drying outside the appliance and where it has been placed. Share the record with the handover contact. A clear account of what was cleaned and what requires repair is more useful than a blanket statement that every appliance was finished.
If an appliance cannot be switched on for a final function check, say so. The cleaner’s record should cover visible cleaning condition, not certify operation. A missing utility supply or an owner instruction to leave a unit off can be noted alongside the photographs so the next person does not mistake an untested appliance for a faulty one.