

A new kitchen may look tidy in estate-agent photographs and still contain crumbs in drawer runners, grease above the hob or residue on shelves that will touch your food. The easiest time to deal with those places is before plates, pans and packets fill every cupboard. You do not need to dismantle the room or turn moving day into a full renovation clean. Work from the storage spaces to the food-preparation surfaces, then the appliance interiors and floor, allowing anything washed to dry before you unpack.
Arrive with a small, separate cleaning kit
Keep supplies out of the main removals load: clean microfibre cloths, a soft brush or vacuum attachment, washing-up liquid, a mild surface cleaner suitable for the kitchen finishes, gloves, rubbish bags and a dry towel. A small step stool may help with reachable upper cupboards if it can be used safely. Check the product labels and do not mix chemicals. The aim is controlled cleaning, not soaking every surface. Excess water can swell chipboard, lift laminate edges and linger in cupboard joints.
Before starting, take photographs of existing marks and any damage: swollen cabinet bases, cracked worktops, missing fridge shelves or a leaking tap. This is useful whether you own or rent. Cleaning can remove residue; it cannot repair a failed seal or an appliance fault. If there is an active leak or electrical concern, report or address it before washing nearby. Set aside enough time for drying. Packing food straight into a damp cupboard can leave a musty smell and can damage paper packaging.
Clear and inspect the places food will occupy
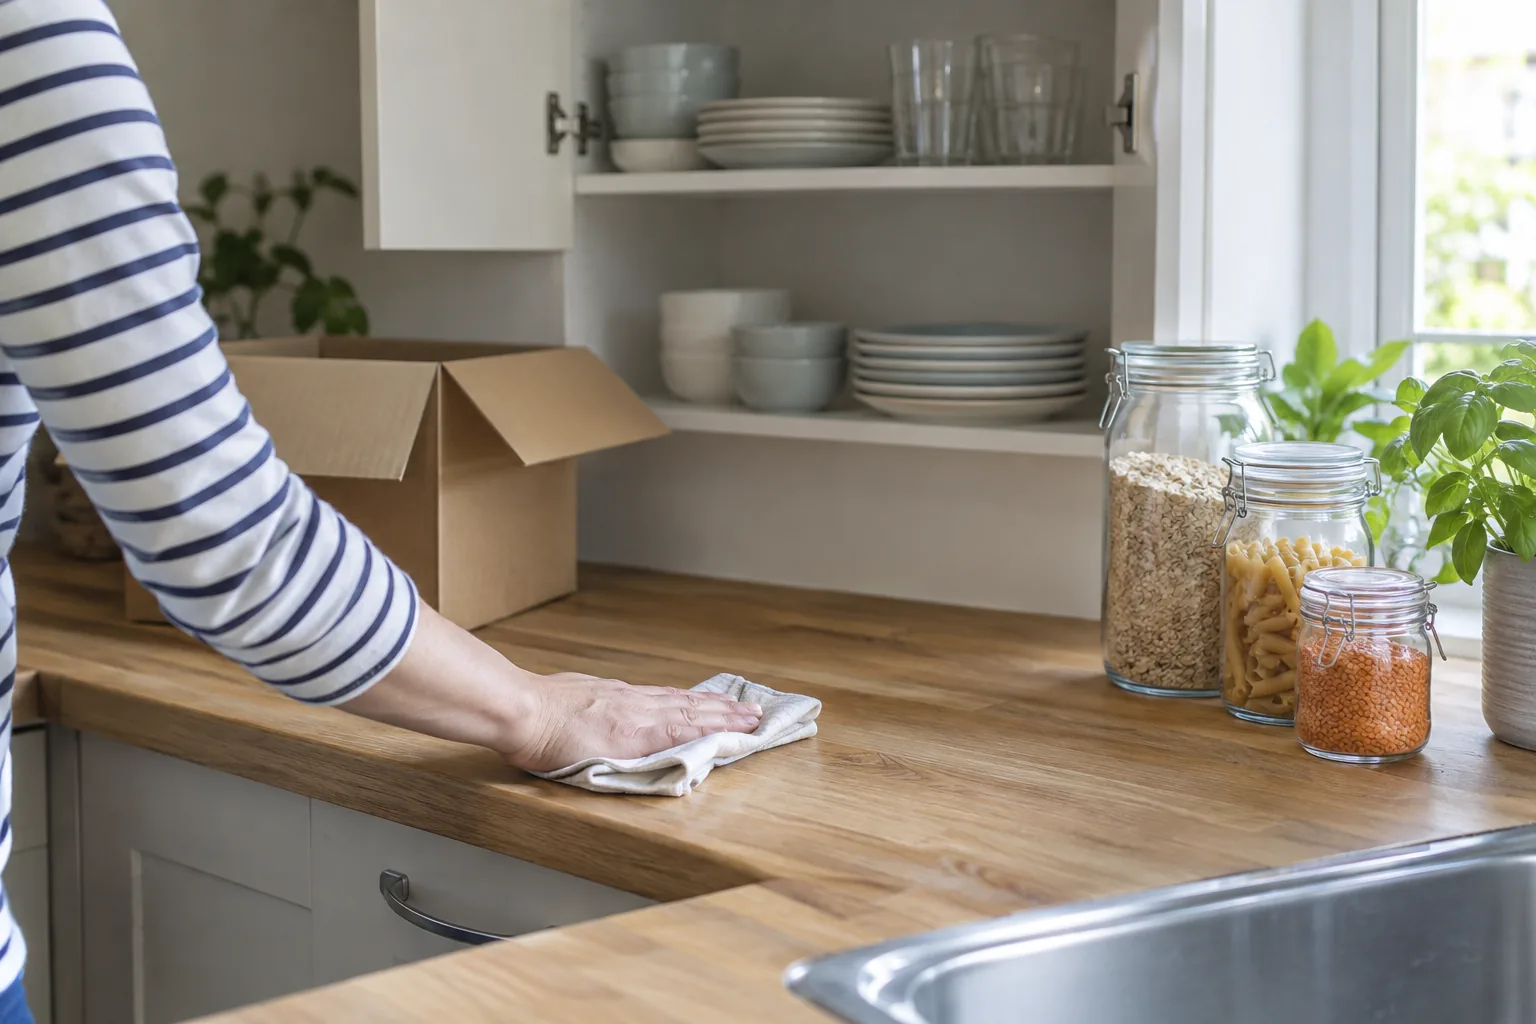
Open each cupboard and drawer, including corners and the space where the drawer meets its runners. Remove loose crumbs with a vacuum nozzle or dry cloth first. Wiping grit around with a wet sponge can scratch a finish and make a paste in the joints. Work from top shelves down so dust from an upper unit does not land on a freshly cleaned lower one. Wipe handles and the inside edges that hands touch. For persistent grease, let a compatible mild cleaner dwell according to its directions, then wipe and rinse if the label requires it.
Pay particular attention to shelves intended for glasses, cutlery and food containers. Use separate cloths for these areas and for the bin cupboard or floor. If you find signs of pests, photograph them and seek appropriate advice instead of simply covering them with shelf liners. A liner should go down only when the surface is clean and completely dry. If the cupboard has a persistent odour, check for a moisture source or trapped residue rather than relying on perfume. Leave doors open while the units dry.
Clean worktops and the sink before cooking
Identify the material before choosing a product. Stone, timber, laminate and composite surfaces do not all tolerate the same cleaner or amount of water. A neutral, manufacturer-approved cleaner is a sensible starting point; test a hidden spot when uncertain. Remove packaging adhesive gently rather than scraping with a metal blade. Clean the worktop in sections, including the junction with the splashback and the underside of any lip where crumbs collect. If a silicone seam is loose or discoloured below the surface, note it as a maintenance issue rather than digging it out during a clean.
Empty the sink and clean the bowl, plug, drain cover and tap base with tools safe for their finish. Limescale may need a compatible product, but acidic treatment can harm some stone or plated fittings. Rinse away cleaning residue where food or crockery will rest. The sink is a useful final rinse point for removable shelves, so you may prefer to clean it twice: a first pass before the shelves and a final wipe before you set out dishes. Keep the basin dry if it is beside an unfinished cabinet edge.
Decide which appliances need attention now
Check that the fridge is operating properly and is at a suitable temperature before loading food. Remove loose shelves and drawers only as the manufacturer’s guidance allows; wash them, rinse and dry fully. Wipe the interior, seal folds and door handles. If there is a strong odour, look for a source under a removable drawer rather than trying to mask it. Discard any food left by the previous occupant according to local waste arrangements. Do not place chilled food inside until the appliance has reached its intended operating temperature.
The oven and hob can wait until after storage is ready if you will not cook immediately, but inspect them before use. Note baked-on residue, damaged enamel, cracked glass or loose components. Avoid forcing oven door panels apart or removing gas parts. An oven-cleaning appointment is useful when grease requires more time and appropriate access than moving day allows. For a complete empty-property clean, move-in cleaning can cover accessible kitchen surfaces alongside the rest of the home.
Finish low, then unpack in zones
Once high cupboards and worktops are dry, wipe kickboards and skirting, then clean the floor last. A removals team can bring grit in on shoes and boxes, so leave the final floor pass until the traffic has eased. Match the method to the floor finish and use minimal moisture on vulnerable joints. Keep a clean route from the entrance to the kitchen while heavy boxes are carried; slippery wet flooring during unloading is an avoidable hazard. Our guide to timing a moving-day clean around boxes can help you choose the slot.
Unpack food-contact items first: plates, cutlery, pans and sealed dry goods. Store raw and ready-to-eat foods appropriately, and do not treat cleaning as a substitute for deciding whether food itself is safe. Keep one cloth and a bin bag accessible for packaging debris as you go. If you run out of time, a clean shelf for essentials and a working sink are more valuable than polishing a decorative cupboard door. Work through the remaining units before filling them, rather than emptying them again next week.
What to leave for a longer visit
If you are sharing the job, assign one person to inspect and empty cupboards while another cleans and dries already cleared units. Avoid having several people use the same sink for dirty tools and food-contact items at once. Label a box for items that need washing before they enter the new cabinets, such as dusty pans or crockery stored during the move. This prevents an apparently clean cupboard from being contaminated as soon as you fill it. Keep photographs of any issue you discover behind an appliance or inside a unit, with a date and location; it is much easier to explain a defect before your belongings hide it. At the end, walk through the kitchen at normal eye level and then look under counters. You may catch drips from earlier wiping, loose packaging or a missed cabinet handle. A final dry cloth is often more useful at this stage than another application of cleaner.
Extraction filters, stubborn oven grease, high cabinet tops and the gap beside a heavy fridge may require separate time, safe access or manufacturer instructions. Make a list while the room is empty. Do not pull a connected appliance forward alone or disconnect gas or electrical fittings to reach dust. Photograph inaccessible areas and arrange appropriate help. A fresh kitchen begins with clean, dry food-storage spaces and a safe preparation area; the harder detail can be booked as a deeper clean once access and the appliance condition are clear.