
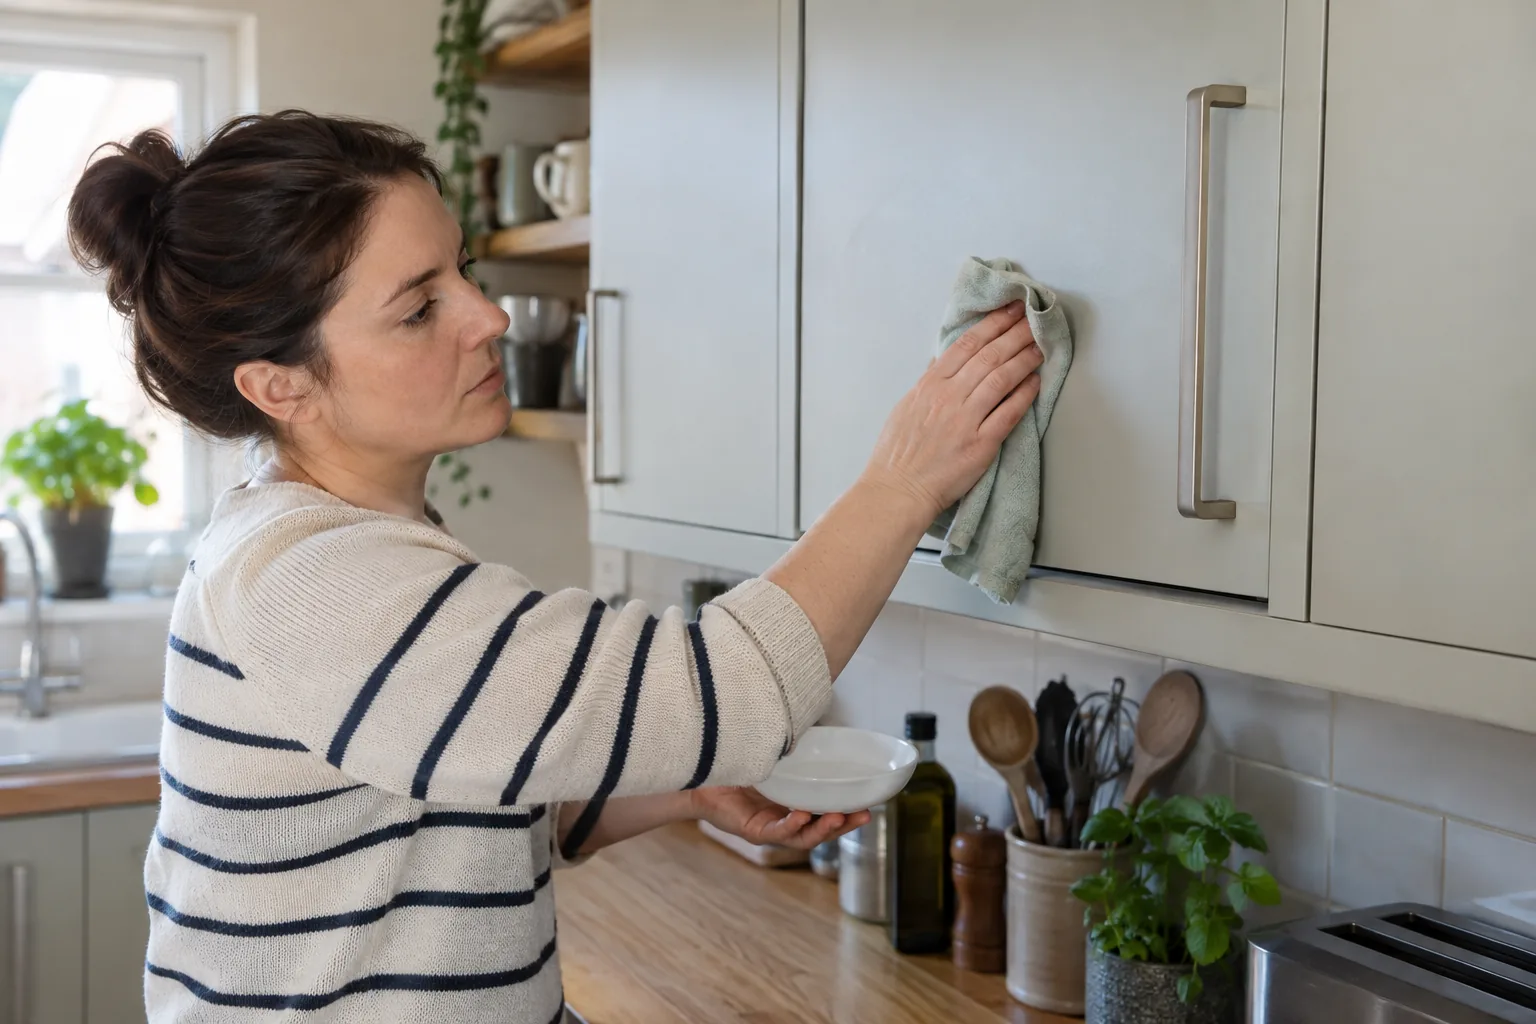
Grease on kitchen cabinets is not the same as grease on a hob. Cabinet doors may be painted, wrapped, laminated or veneered, with vulnerable joints at their edges. A strong degreaser or hard pad can remove a mark and change the finish at the same time. Identify the material, test a mild method and work in controlled sections before attempting the heavier film near the cooker.
Identify the finish and the greasy zones
Look at a door away from the hob as well as one beside it. The first may have ordinary fingerprints; the second may hold a sticky film that has collected dust. Check the face, handle area, top lip and hinge side. Look for lifted vinyl wrap, swollen board, bare wood, peeling paint or a loose trim. These conditions make the edge especially vulnerable to water. Photograph damage before work so a later change is not mistaken for a cleaning result.
Do not assume every part of a cabinet run has the same finish. Replacement doors, painted end panels and laminate shelves can sit together. A product that appears safe on one surface may dull another. If the manufacturer or installer supplied care instructions, use them. When the material is unknown, choose a small inconspicuous test on each different finish and inspect after it has dried.
Check access before climbing. Cabinet tops above a cooker can hold layered grease, but reaching them by standing on a worktop or open drawer is unsafe and may damage the furniture. Arrange proper access or leave the high area for a suitable appointment. A lower, reachable door can be cleaned separately without implying the upper run was completed.
Test a mild method before using a degreaser
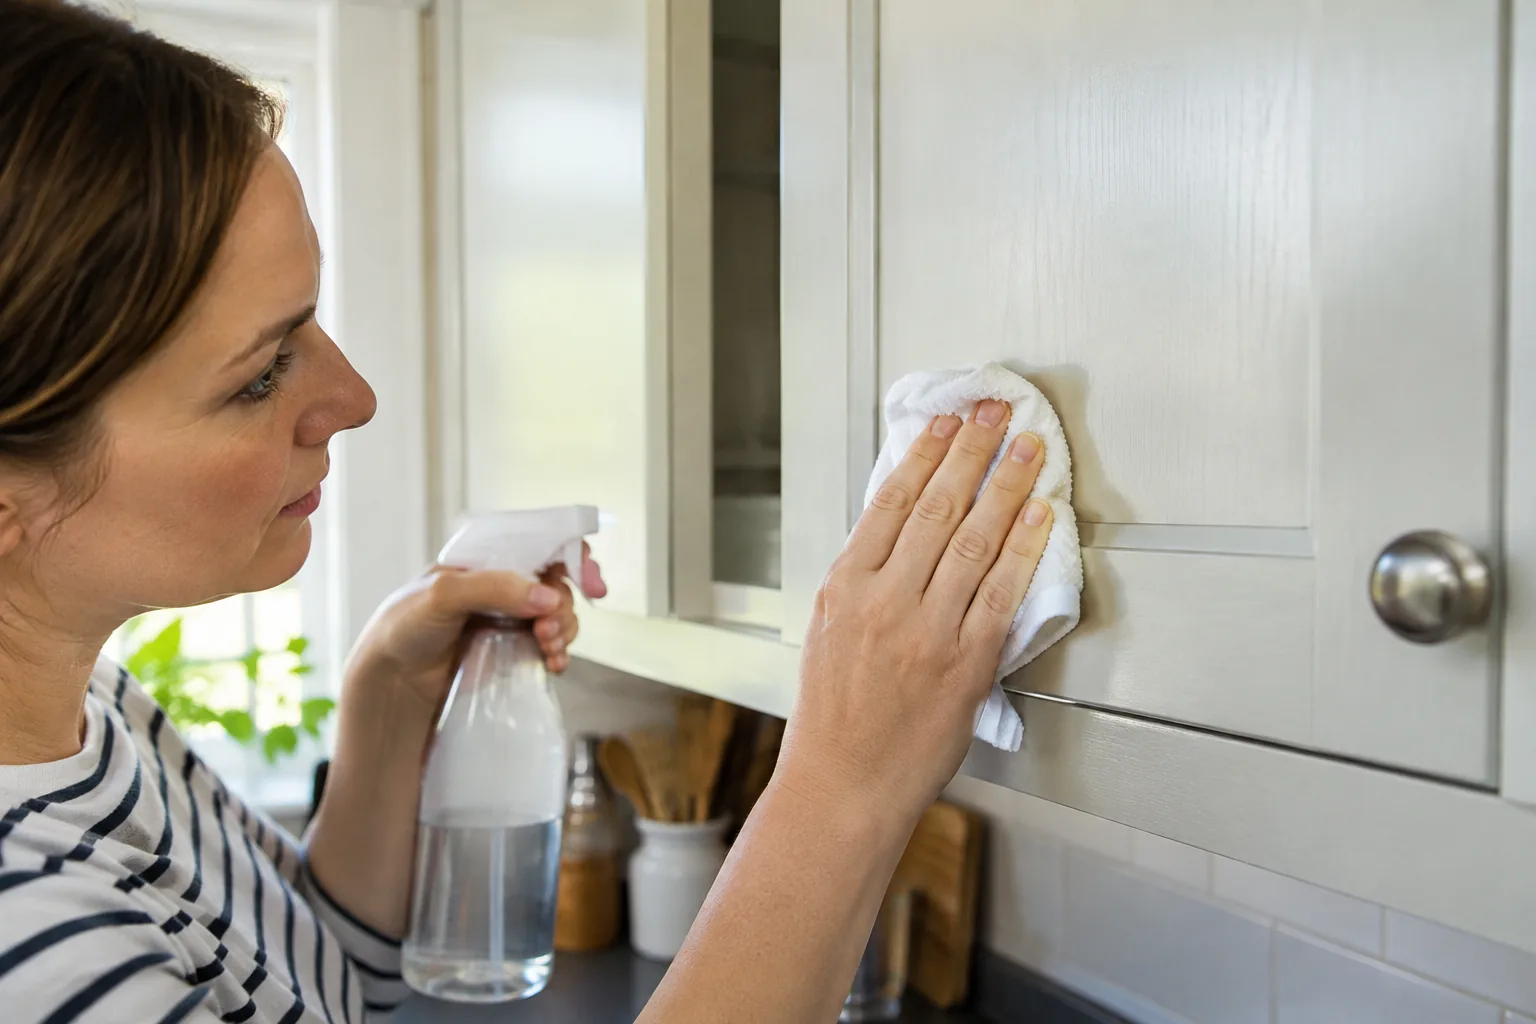
First remove loose dust with a soft cloth or brush. Dust under a wet cloth can become gritty paste and leave fine marks. Apply a small amount of a compatible cleaner to a cloth rather than spraying the entire door. Work on a hidden patch, follow the product’s directions and let the patch dry fully. Check for colour transfer, tackiness, loss of sheen or lifting at the edge. If any appears, stop.
Fresh finger grease may lift with a mild suitable solution and several gentle passes. A thick deposit may need a product with a specified contact time, but the cabinet coating and adhesive must tolerate it. Do not extend the time beyond the label or let the cleaner dry on the surface. Repeated mild passes with clean cloth faces are often easier to control than one long soak. Change the cloth as it loads with grease so it does not spread the film over a clean area.
A cabinet face near a kettle may also show water marks, and a dark patch under a handle may be worn coating rather than soil. Let the first test tell you what changes. A wet surface can conceal a dull patch; inspect in natural light after drying before deciding whether to continue across the whole door.
Clean handles and door faces in sequence
Handles collect oils at their base, where excess liquid can run into a screw hole. Fold a cloth around a projecting handle or use a soft small brush in a recessed pull. Keep moisture controlled and dry the metal and surrounding join immediately. If a fitting is loose, report it rather than rubbing harder. Cleaning will not tighten it.
Work down each door in manageable sections. Start near the handle, then the broad face and lower edge where hands or shoes may leave marks. Use even strokes instead of polishing one spot until it becomes lighter than the surrounding finish. Wipe away remaining product as the label instructs and dry the door before closing it. Compare it with the neighbouring door only after both surfaces have dried; a difference may be remaining grease or a true change in coating.
Decorative grooves and glass inserts need their own method. A soft brush may reach a sound groove, while glass should be cleaned by its care instructions. Keep product from pooling where glass meets wood or wrap. Do not use a blade, metal scraper or abrasive sponge against a coated panel. The aim is an intact, cleaner finish, not a uniform appearance achieved by wearing the coating down.
Protect top edges, joins and veneer
A top lip often carries the heaviest film but may expose the substrate of a wrapped or veneered board. Loosen dry dust first, then use a barely damp compatible cloth in short passes. Keep liquid away from the join and dry it promptly. If grease has hardened in a seam, do not prise the layers apart with a tool. Record the limitation and ask for material-specific advice.
Hinge points and the underside of wall units deserve a cautious inspection. Wipe only sound, accessible exteriors. Do not spray into a hinge, fixing hole or electrical light strip beneath a cupboard. Swollen chipboard will not return to its original shape after cleaning; detached wrap will not bond back into place. Those are repair or replacement issues and should be listed separately from removable grease.
When several cabinets are affected, work one door at a time and leave a clean stopping point. This makes the result easier to judge and avoids leaving product on the first door while the last is still being treated. If the task requires sustained grease removal across the whole run, describe the condition before booking a deep clean. The service should allow time for testing, careful work and drying.
Adjust for the cabinet material
Painted doors may show a change in sheen if one spot is rubbed repeatedly. Use light even passes and stop if paint transfers to the cloth. A glossy laminate can show streaks from product left behind; follow the label’s rinse direction and dry with a clean cloth. On vinyl-wrapped doors, the face may be easy to wipe while the wrapped edge is vulnerable to heat and moisture. Keep the cloth from sitting on that edge. None of these surfaces should be treated as bare tile simply because they are beside it.
Real timber needs attention to its coating. A sealed timber door may tolerate a compatible lightly damp cloth, but an unfinished or worn area can absorb moisture and darken. Do not assume a dark patch is grease until the material is identified. Wood veneer is thin and can lift at an edge; avoid scraping there. If an existing finish has become sticky or soft, a cleaning product may have affected it previously. Stop and seek material-specific advice rather than trying another formula across the whole run.
Note the result of the first test for future visits: the product, dilution if relevant, surface and any change after drying. This saves the next cleaner from repeating an unsuitable trial and helps the household maintain the doors consistently. Keep the note with the cabinet care instructions if available. A good method can be repeated on the same sound finish, while a damaged edge should remain clearly excluded until it is repaired.
Keep new grease from becoming a layer
Once the cabinets are clean, a soft routine wipe around the cooker and frequently used pulls is easier than removing months of bonded film. These accessible faces can be named as priorities in a regular domestic clean, with the cabinet finish and approved method noted for the cleaner. Deal with fresh cooking splashes promptly. Do not apply a protective polish or coating unless the cabinet maker recommends it; such products may change the sheen or attract new dust.
Check the kitchen extractor’s visible condition if grease builds rapidly, but leave its motor and duct to appropriate service work. A greasy grille may be cleaned according to its own instructions; it does not explain the condition of the whole ventilation system. If grease reappears quickly despite ordinary use and cleaning, describe the pattern rather than automatically increasing chemical strength on the cabinet doors.
For a broader decision about the appointment scope, read the guide to deep, one-off and regular cleaning. Cabinet exteriors can be maintained routinely, while layered grease and high edges may need more time. Material compatibility and safe access should decide how far the work goes.