
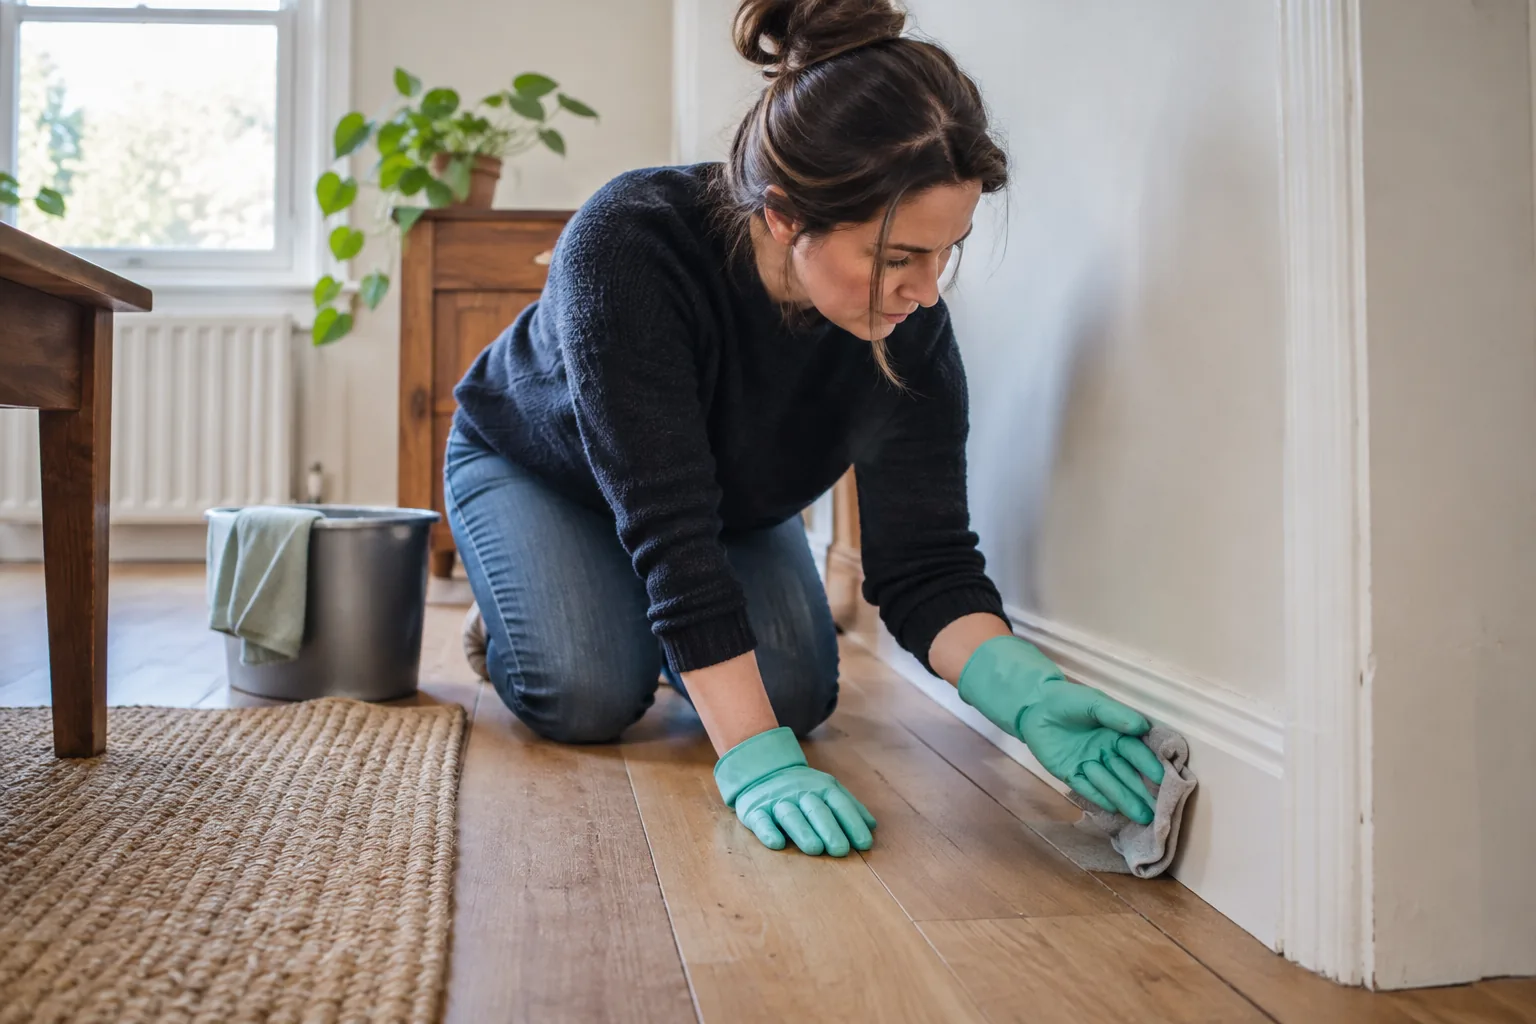
Skirting boards collect two different kinds of mark. Loose dust settles on the top lip and inside decorative grooves; shoes, furniture and vacuum heads leave scuffs lower down. A single wet wipe often turns the dust into paste while doing little for worn paint. Work in a clear sequence, use gentle tools and protect the floor where the two finishes meet.
Plan the route around the room
Clear small objects from the floor and decide which furniture can be moved safely. A light stool may be easy to shift and return; a heavy wardrobe should not be dragged just to reach a narrow hidden strip. Ask the owner to move fragile pieces or record inaccessible edges. Notice loose paint, a board pulled away from the wall or a lifted floor join before beginning. Those conditions limit how much moisture or pressure can be used.
Dust higher shelves and furniture first, then the skirting, and finish with the floor. Otherwise particles from above will land on the edge you just cleaned. Work around the room in sections between corners or doors. This makes missed stretches easier to see and prevents a loaded cloth being carried around the entire perimeter.
Use adequate light. A dark line at the floor can be dust, a shadow from a gap or a stain within the material. A scuff at chair height may be paint worn away rather than removable transfer. Identifying the type of mark before selecting a cleaner saves time and protects the finish.
Lift dry dust from profiles
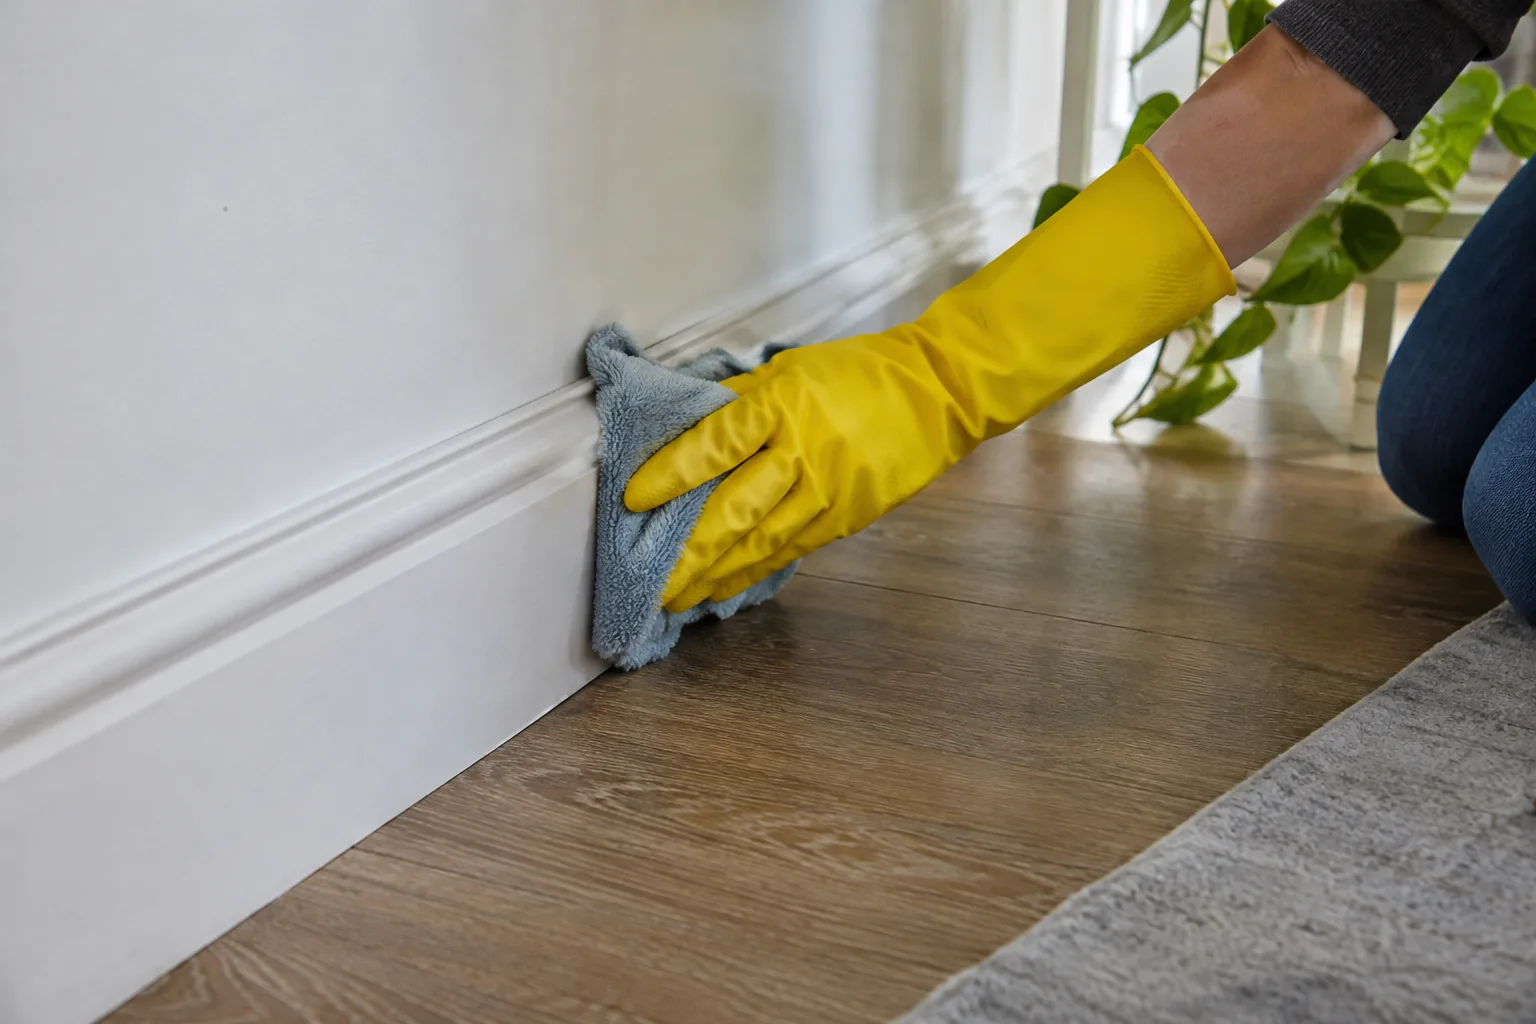
Start with a soft brush or vacuum attachment along the top lip. Support a hard crevice nozzle so it does not strike painted edges. Decorative profiles need a smaller brush to loosen dust from grooves that a broad cloth bridges over. Hold the vacuum nearby to capture what the brush releases. At corners and door frames, change direction gently rather than jamming the tool into the join.
If the skirting is near a kitchen, dust may be bonded to a light greasy film. Remove the loose layer first; applying water immediately can smear grit along the paint. Test a suitable mild product on a hidden patch and use minimal moisture. A profile made of unfinished timber or old porous paint may not tolerate even that. Let the test dry before continuing.
Do not stretch from a chair or step on furniture to reach a difficult edge behind a fixture. Skirting is low, but access around a deep cabinet or stair can still be awkward. A long soft attachment may help where it can be controlled; otherwise leave the area for a visit with proper access. Cleaning a visible edge safely is more useful than damaging the wall to claim every centimetre.
Test scuffs without stripping paint
Use a clean, lightly damp cloth on one discreet scuff if the paint finish allows it. Wait for it to dry and check whether the mark has lifted or the sheen has changed. A washable gloss may tolerate a different method from a matt or aged coating. If colour transfers to the cloth, stop. Rubbing harder is likely to enlarge the dull patch.
An abrasive sponge can remove a transferred mark and the paint beneath it. Reserve it for a surface whose maker permits it, and test first. A dark mark exactly where a chair leg or door repeatedly strikes may be wear rather than dirt. Consider a furniture protector or adjustment to prevent new contact, but check the furniture and floor before adding anything that might itself mark them.
Do not paint over a dirty or damp board as a cleaning shortcut. If the surface needs decoration, identify that as a separate job after it has been cleaned appropriately and dried. Loose paint, crumbling plaster or an open gap should be assessed before further wet work. The cleaner can record the condition but cannot repair it by scrubbing.
Finish the adjoining floor edge
Vacuum the seam between board and floor before any wet floor treatment. Hair and grit can sit where a mop head does not reach. Use the method required by the floor material: tile grout can be treated differently from laminate or unfinished timber. Keep water out of laminate joins and from beneath a lifted board. Dry the lower skirting after any damp floor work so liquid does not sit at the paint edge.
Inspect from the doorway after the floor dries. A missed strip may appear in low light, while a wet shine can make a dirty patch look finished. If a black line remains, check whether it follows a gap or a stain in the material. Do not keep flooding it in an attempt to make the shadow disappear. Record an open join for maintenance.
Replace light furniture only after the floor is dry. Check that its feet are clean so grit is not dragged across the finished edge. If a large piece was not moved, tell the household which section remained inaccessible. That detail makes a deep-clean record more accurate.
Adjust for the board material
Painted MDF is common but vulnerable where its coating has chipped or an edge has swollen. Keep water off exposed fibre and dry the area promptly. Solid timber may have paint, varnish, oil or an unfinished patch, each of which needs a suitable method. Plastic skirting can tolerate some products that paint cannot, yet abrasive tools can still scratch a glossy face. Do not identify the material by colour alone. Check a discreet edge and ask the owner if installation details are available.
Decorative caulk between skirting and wall should not be scrubbed like a tile joint. If it has cracked, a damp cloth may pull loose pieces away and create a ragged line. Dust gently around it and record the gap for repair. The same applies to a cable channel built into the board: do not flood or open it to reach dirt inside. Wipe only accessible exterior surfaces and keep liquid away from electrical fittings and sockets nearby.
Older paint may have layers that look sound from a distance but lift when rubbed. A dry soft-brush pass is a useful first test. If flakes fall, stop and ask for appropriate maintenance advice. Do not sand or scrape an unknown coating as part of routine cleaning. The aim is to improve ordinary dust and scuffs while leaving the existing finish intact enough for later decoration if needed.
Prevent the same marks returning
Look at what touches the lower board. A chair that rubs the same patch, shoes stored against the hallway wall or a vacuum nozzle regularly striking a corner can create repeated scuffs. Move or protect the source where sensible. A furniture foot pad may help, but it should be chosen for the furniture and floor so it does not introduce a new mark. Keeping the route clear also makes future vacuuming easier.
In a kitchen, grease can settle on the skirting behind the bin or beneath cabinets. Remove loose crumbs routinely so they do not bond into the film. In a bathroom, watch for standing water along the floor edge. These conditions require different attention from the dry dust on a bedroom board. A room-by-room note helps a regular cleaner choose a suitable tool instead of using one cloth and product along every perimeter.
Decide when the detail belongs in a deeper visit
Skirting can be included in a deep clean when the number of rooms, paint condition and furniture access are clear. If the edges are only lightly dusty, they may rotate through regular domestic cleaning visits. The room-rotation guide offers a way to schedule those less urgent areas without rushing the more frequently used surfaces.
Describe heavy scuffs, fragile paint or a water-sensitive floor before the appointment. The cleaner can bring a soft brush, suitable cloths and the right floor tools. A decorator or repairer may still be needed for worn paint and open joints. The aim is a cleaner perimeter with the materials intact, not a promise that every shadow at the edge can be wiped away.